Each year my daughter gives a handmade bell ornament to family and friends. It is important that she is actively involved in the process. Basically that means I get to assemble and tie bows while she is creative.
Since we just published Mabell’s Zoo with all the illustrations created from coffee filters, I began to wonder if we could make a bell from the filters, too. After a few failed attempts, the answer is, YES. Following are the steps we took to create the prototype of our beautiful 2013 Christmas ornament.
Materials For Coffee Filter Bell
Large Coffee Filters
Watercolors
Bottle (with a bit of flare near the top)
Ribbon
Unsharpened Pencil
Glue
Bell (optional)

Step One.
Crumple coffee filter. The idea is to use texture to give color variations. At this point you can leave the filter crumpled and start applying watercolors (it will absorb into the filter) or flatten out and brush the color onto the filter. Try to keep creases and allow the colors to blend. Limit the colors to two or three groups to avoid “muddy” colors.


Step Two.

Once you have finished painting, lay the filter flat to dry. (Again keep as many creases as possible.)
Once dry, gently stretch to return the filter to a circle shape.
Step Three.

Center and collapse the filter on an unsharpened pencil – resembling a closed umbrella.
Tie a string/ribbon about an inch from the top (this will be removed at the end). This becomes the handle and makes it easier to hold during the twisting step.
Place the other end of the pencil into the bottle. It will now look like an open umbrella.
Step Four.

Use one hand to twist the top of the pencil and use your other hand to guide the filter around the shape of the bottle. This make take several turns to get the desired shape. The filter will easily start to conform to the bottle shape.
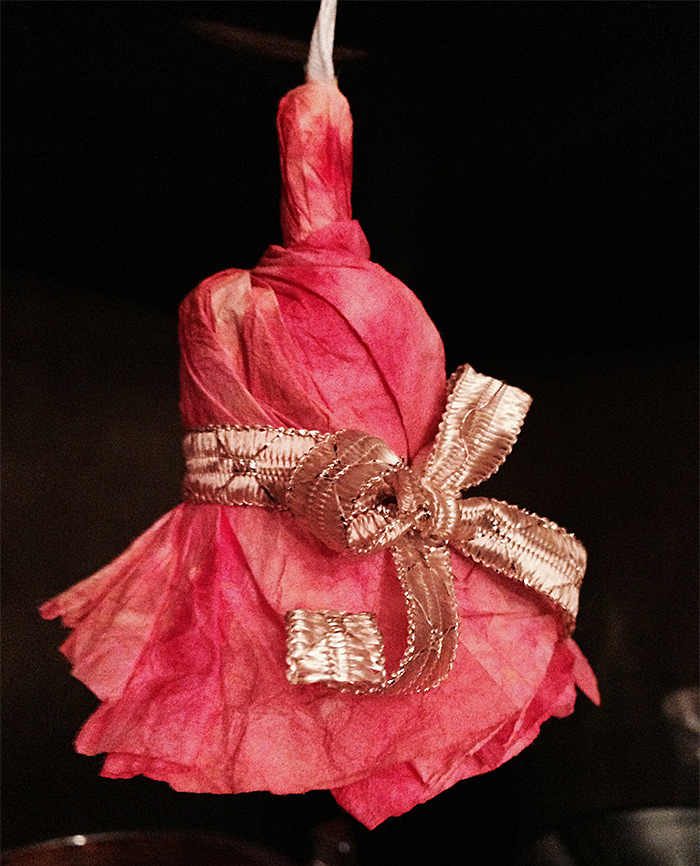
Step Five – The Finishing Touches
Cut a ribbon about 12 inches long. While still on the bottle, tie the ribbon around the center of the bell and make a bow.
Poke a hole in the filter at top of the “handle” (pencil). Remove the bell from the bottle and slide the pencil out.
Cut a ribbon long enough to string up through the bell and hang. Tie a small knot in the ribbon, dab with glue, and string through the bell. The knot should land inside the handle. (this give a little re-enforcement to the handle). Create a loop with the remaining ribbon to hang the ornament. Remove the first string/ribbon from the top of the bell.
Optional – add a bell to the bottom of the ribbon before stringing through the filter.
Tip – To give a little extra support, dab glue on the middle of the ribbon prior to attaching to the center of the bell